Why drying deserves its own step
Wet cleaning can lift dust and residue from a record’s grooves, but the job is not finished while liquid remains on the surface. Leftover cleaning fluid may dry into a visible film, and a damp record can transfer moisture to its inner sleeve. Rushing to play or store the disc can also undo some of the care you put into washing it.
Start by checking what kind of record you have. The routine below is intended for common vinyl LPs and singles. Older shellac records, picture discs and unusual pressings may need different treatment; if you are unsure, check the record’s material and the cleaner’s instructions before getting it wet. Keep the centre label as dry as possible throughout cleaning and drying.
Let excess liquid leave the grooves
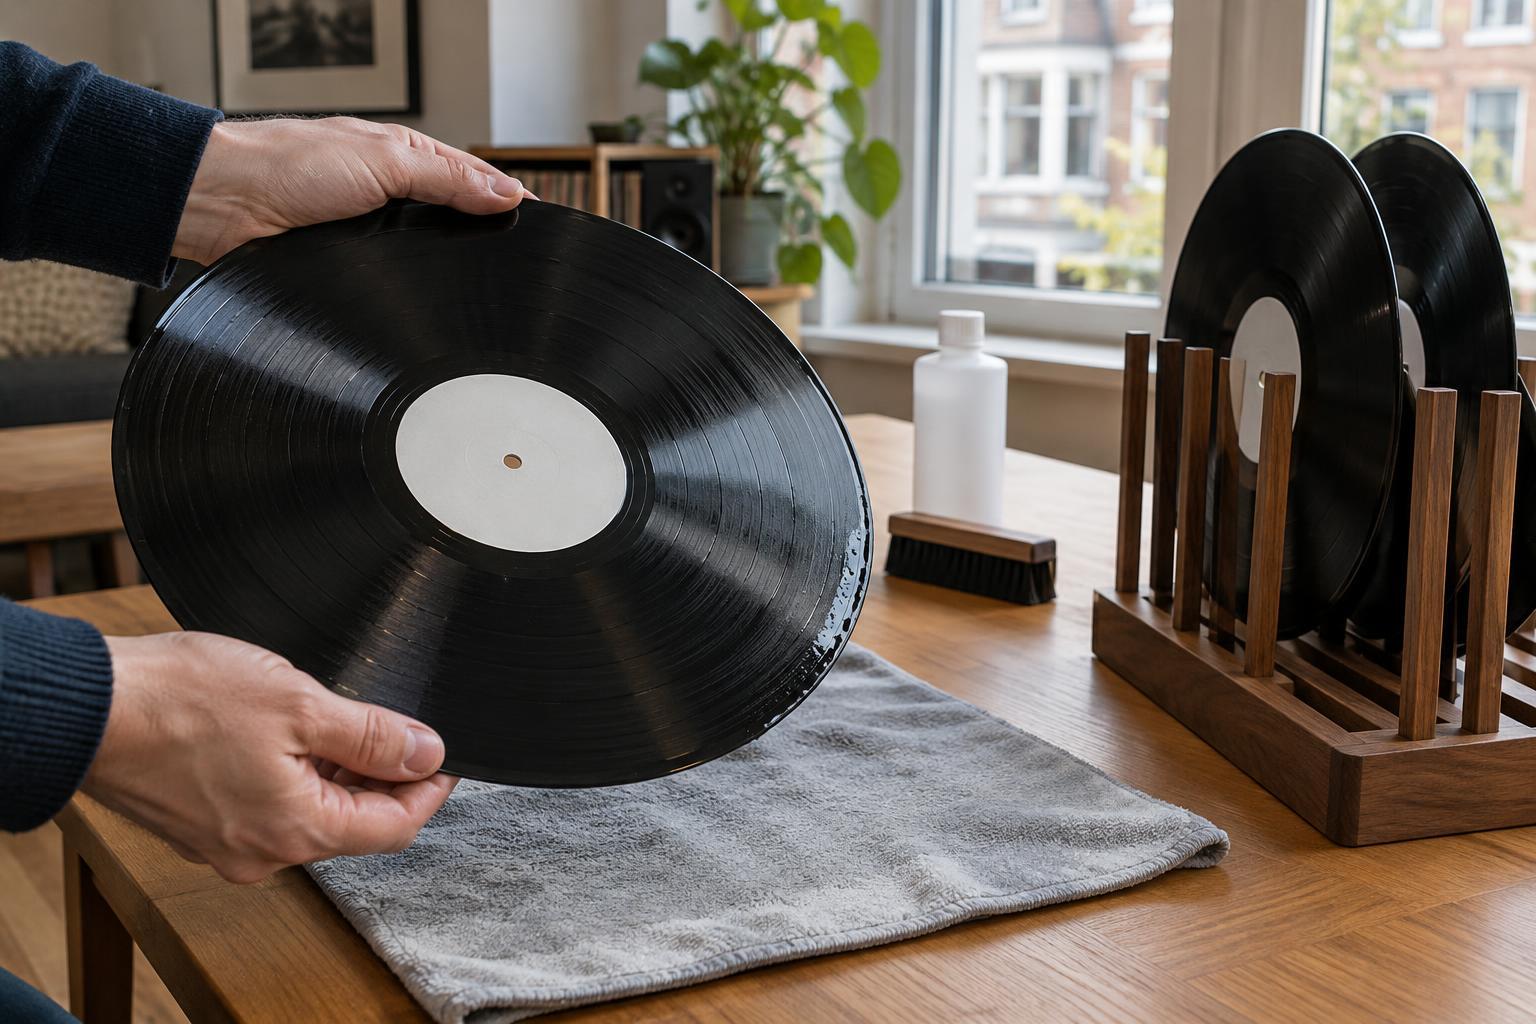
After washing or rinsing, hold the record by its edge and labelled centre, without putting your fingers on the playing surface. Give excess liquid a chance to run off over a clean basin or work area. Avoid shaking the record: it is easy to lose your grip, and a sudden movement can splash the label or nearby records.
If your cleaning method calls for a rinse, do it before drying rather than trying to wipe away cleaner as it dries. Follow the product’s directions, particularly if it requires a final rinse. Any cloth or pad used at this stage should be clean, soft and intended for records. Do not press hard or scrub across the grooves, and avoid paper towels, which can leave fibres behind.
Choose a drying method that fits your setup
For air drying, place the record upright in a clean drying rack that supports it securely without rubbing the playing surfaces. Leave space between records so air can circulate and wet discs cannot touch. Choose a spot away from open windows, cooking vapour, pets and direct sunlight. The aim is a calm, dust-free place at room temperature, not a blast of hot air.
A record-cleaning vacuum offers another route: it removes liquid rather than waiting for it to evaporate. If you use one, follow its operating instructions, keep the suction strip or contact surface clean, and avoid extra passes once the disc looks dry. A dirty strip can put residue back on the record. If a few droplets remain near the runout area or edge, deal with them gently rather than repeatedly vacuuming an otherwise dry side.
A clean, lint-free cloth can help with a stubborn droplet, but use it sparingly. Blot lightly with a fresh area of cloth instead of dragging it around the disc. No cloth is a substitute for removing dirty cleaning solution first: wiping a wet, gritty surface risks moving particles across the grooves.
Check before playing or sleeving
Drying time varies with the amount of liquid, room conditions and the method you used, so a fixed countdown is less useful than a careful inspection. Under good light, look for droplets, streaks or a cloudy film on both sides. Check around the edge and the runout area, where moisture can be easy to miss. Handle the record by the edge as you turn it; do not test the surface with a fingertip.
Make sure the centre label is dry, too. If it was accidentally dampened, allow it to air dry without rubbing the print. Do not use a hair dryer, radiator or direct sun to speed things up. Excess heat is unnecessary and can put a record at risk, while moving air can blow fresh dust onto a clean surface.
Finish with a clean sleeve and workspace
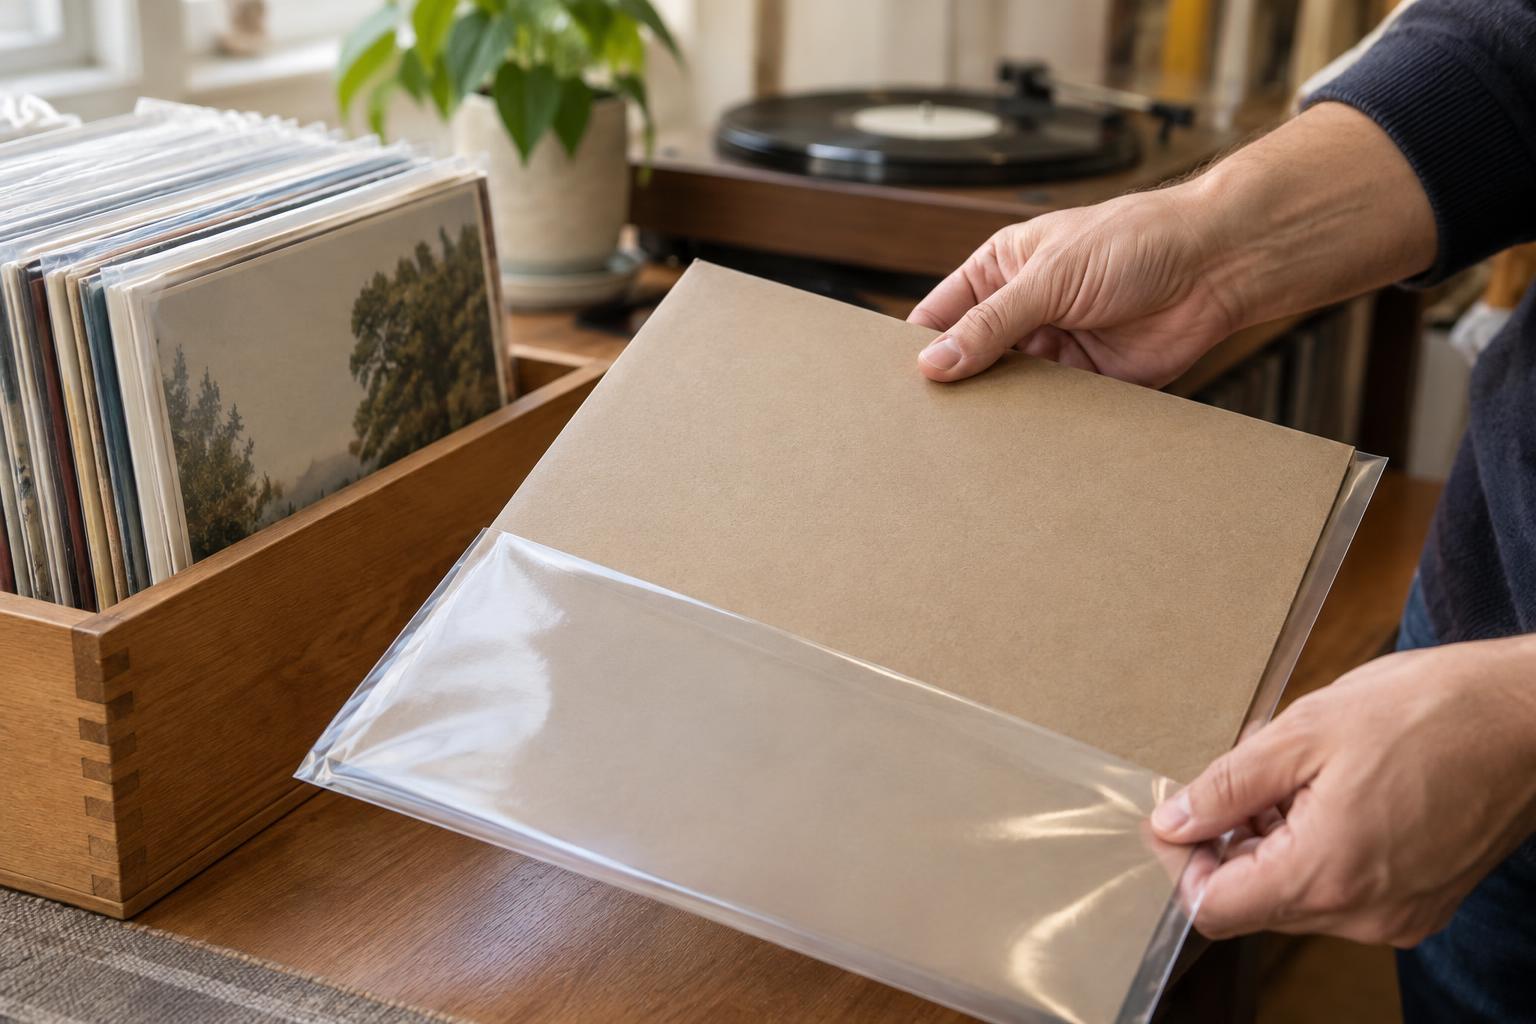
Once the record is fully dry, put it in a clean inner sleeve. A worn paper sleeve full of dust can quickly reintroduce debris, even after a careful wash. If you want to keep an original printed inner sleeve, you can store it alongside a clean replacement rather than forcing a freshly cleaned record back into it.
Before cleaning the next disc, check the rack, cloths and any vacuum contact strip for residue. Keeping those surfaces clean makes drying more consistent from one record to the next. The basic habit is simple: remove the used liquid, let the record dry in a protected space, inspect it in good light, and only then return it to the shelf or turntable.