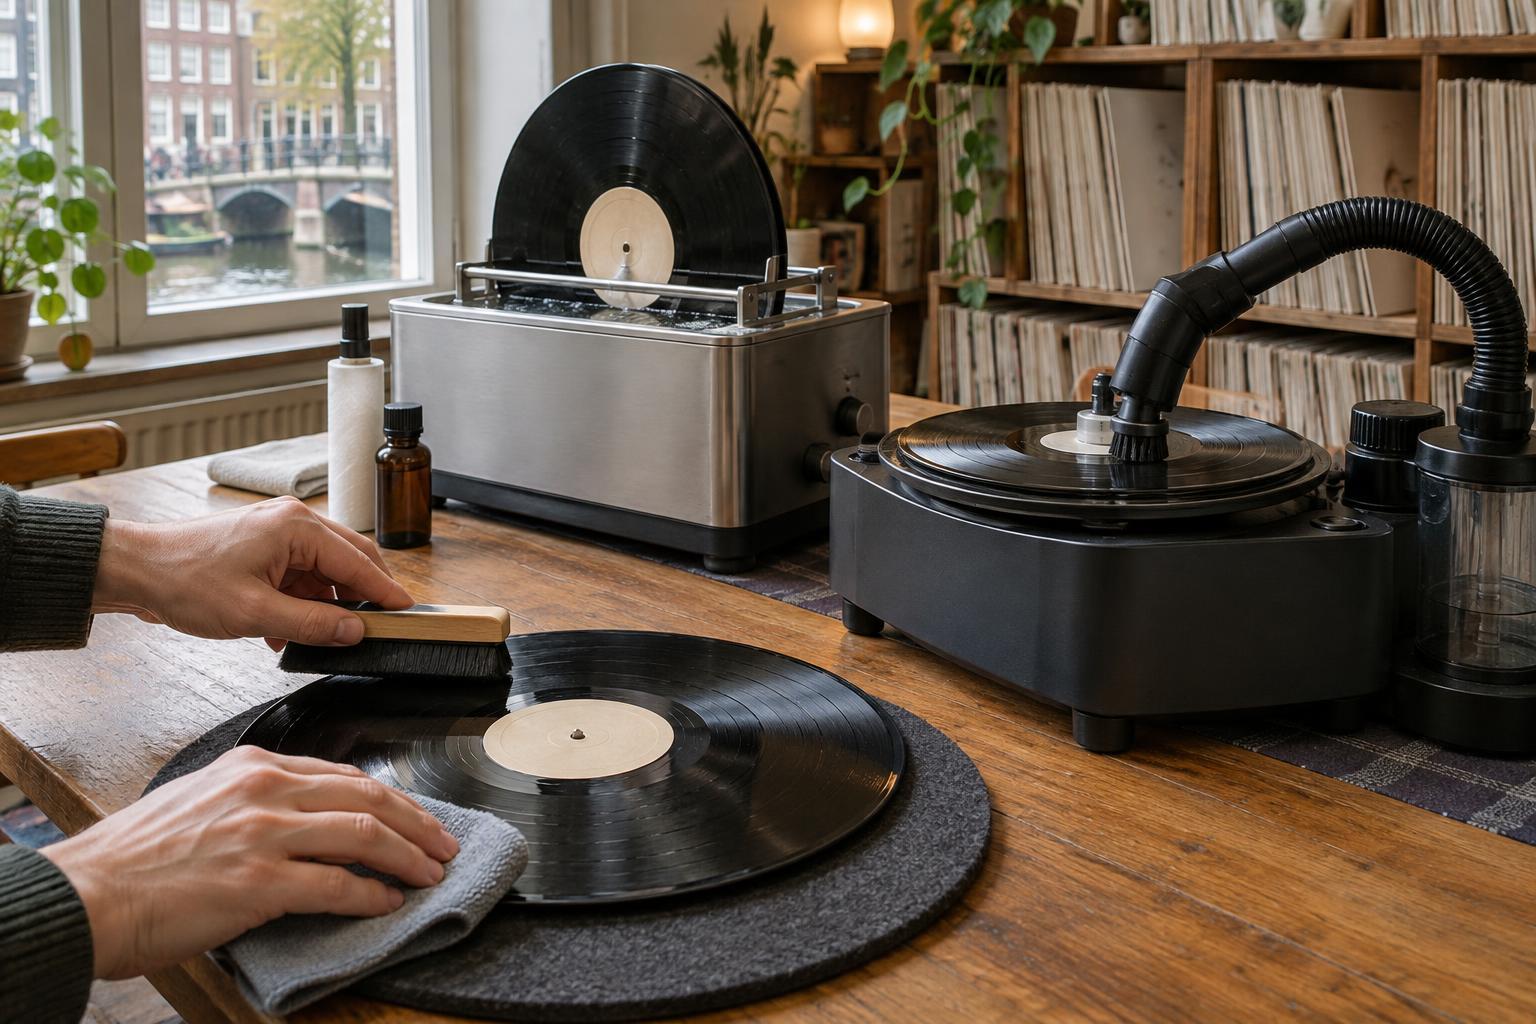
When a wet clean is worth doing
A dry record brush is useful for loose surface dust, but it may not remove fingerprints, dried residue or dirt lodged in the grooves. A wet clean can help with those problems. It will not repair scratches or pressing defects, and it may not eliminate every click. If a record looks clean and plays well, there is no need to wash it simply because it is new to you.
Before you start, inspect the disc under good light. Check for cracks, loose labels or other damage that could make handling risky. Set aside shellac discs and unusual record materials: a method suitable for conventional vinyl may not suit them. For a valuable or fragile record, it is reasonable to test your approach on a less precious disc first.
Prepare a clean workspace and mild solution
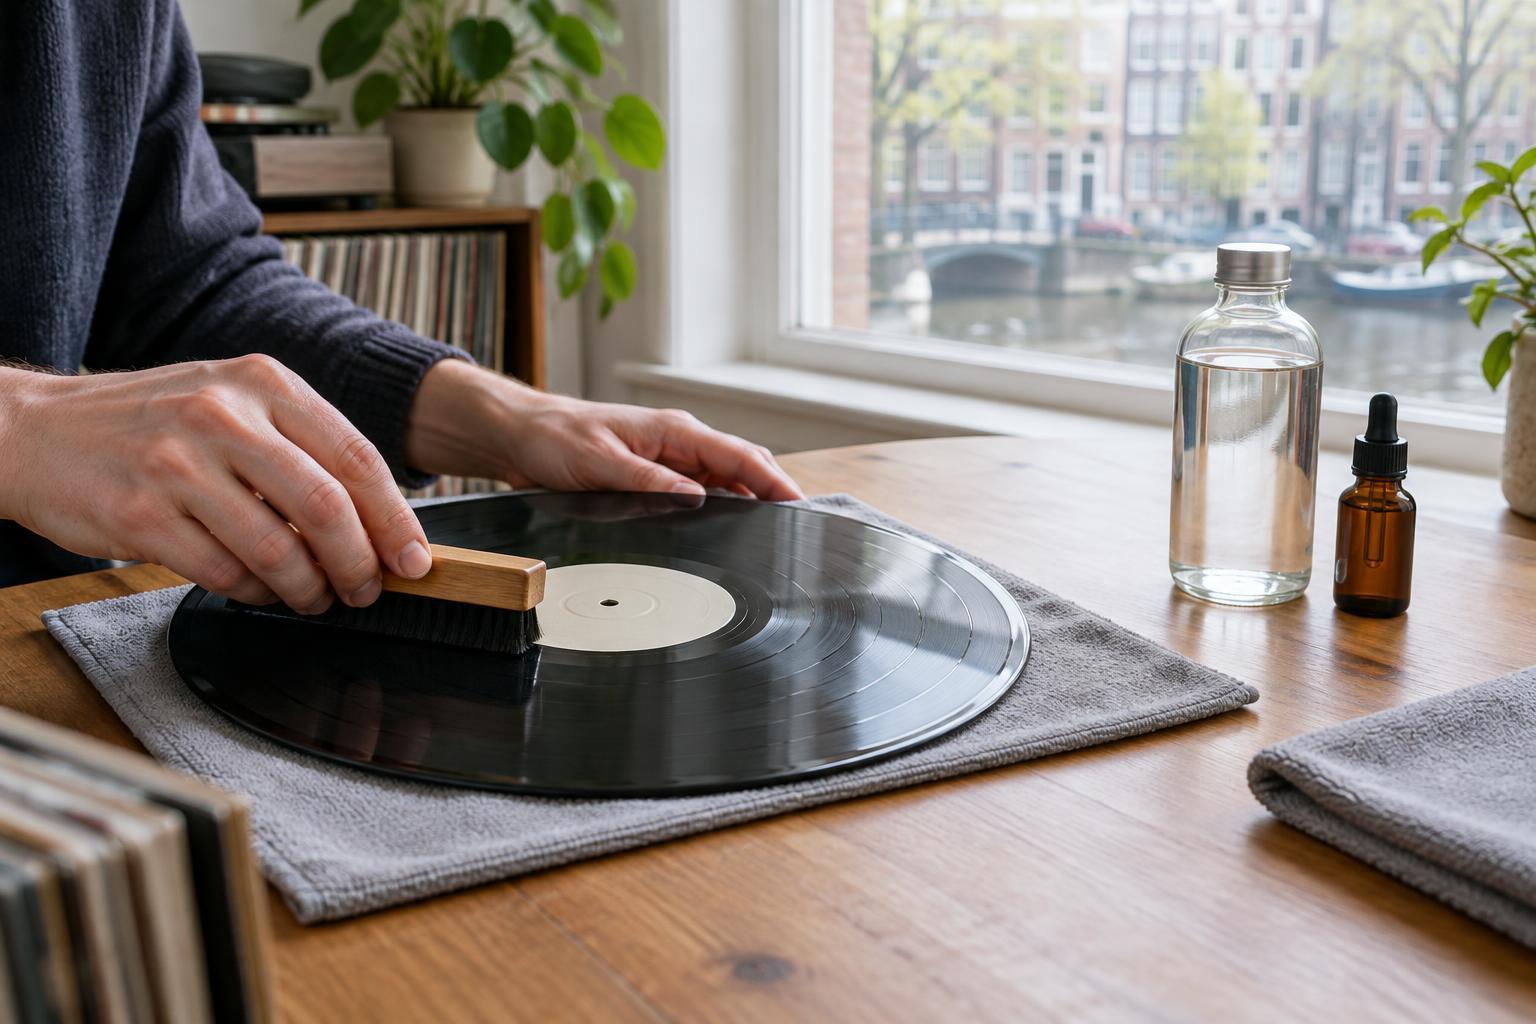
Wash your hands and clear a flat, well-lit surface. Have a clean microfiber cloth or record-cleaning pad ready, along with a second cloth reserved for rinsing. Use a vinyl-specific cleaning fluid according to its directions, preferably one intended for hand use. Distilled or deionized water is useful for diluting a concentrate when instructed and for rinsing afterward; ordinary tap water can leave mineral deposits as it dries.
Avoid household detergents, window cleaners and improvised solvent mixtures. Their ingredients may leave residue or affect labels and sleeves, and advice about alcohol varies by record material and fluid formulation. If you are unsure what is in a cleaner, choose a product with clear instructions for vinyl instead. Keep the playing surface and your tools free of grit: a dirty cloth can do more harm than the dust you meant to remove.
Clean gently, following the grooves
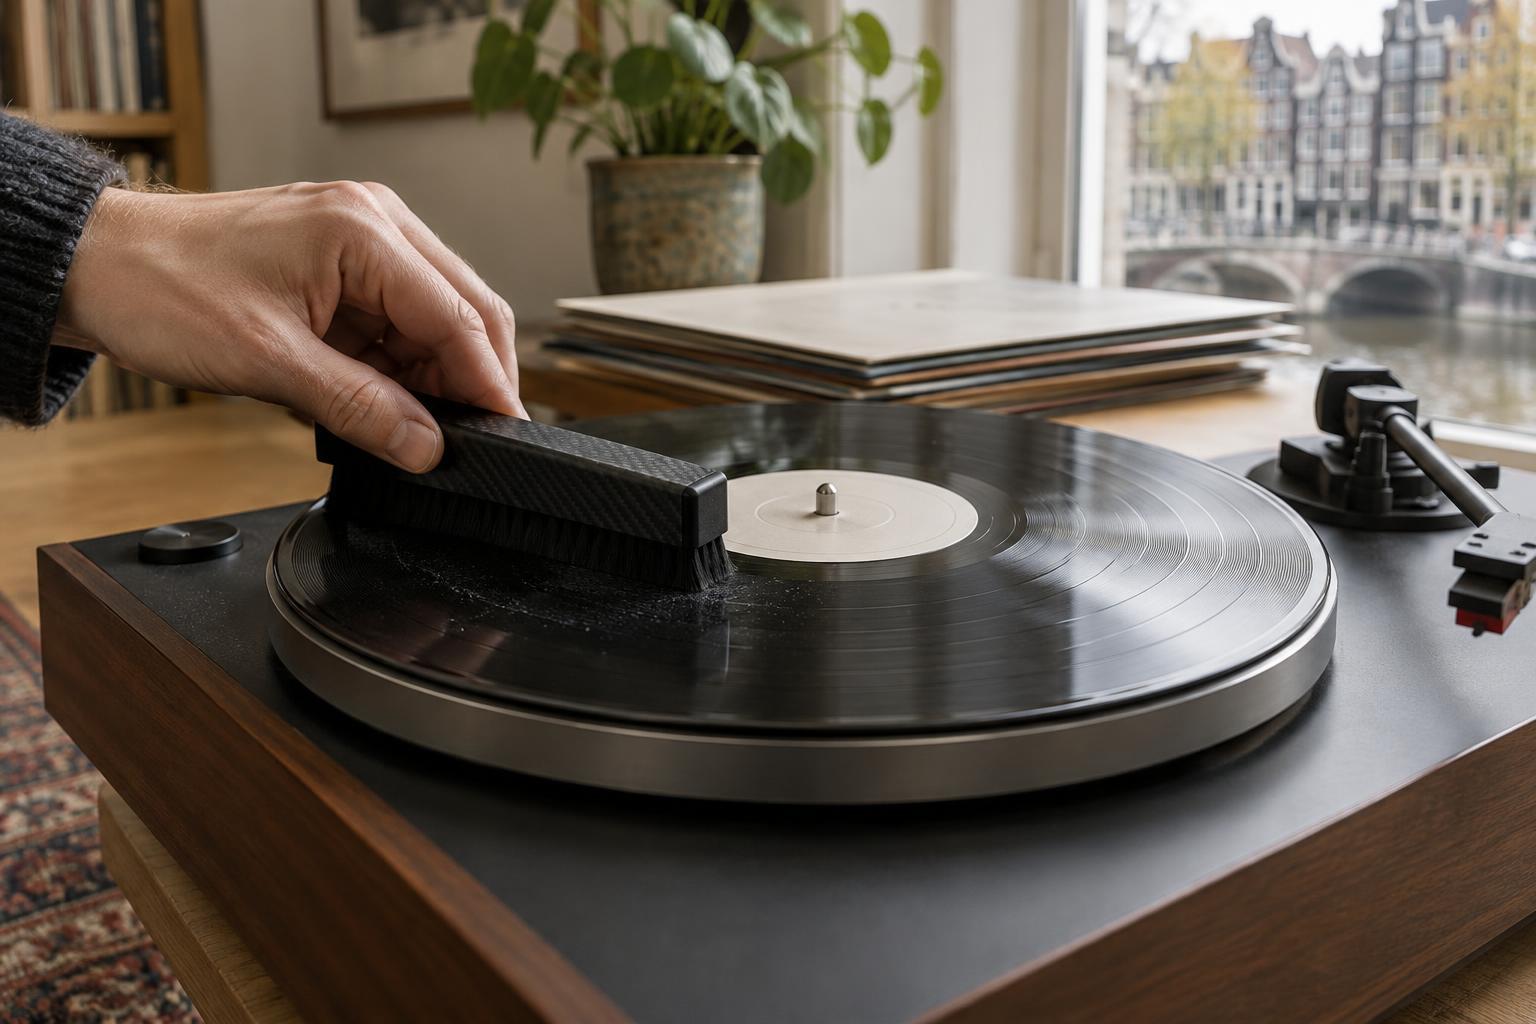
Hold the record by its outer edge and labelled centre, avoiding the playing surface. Lay it on a clean, soft support that will not slip or scratch the underside. If you use a mat, make sure it is free of particles before each side. Remove loose dust with a clean record brush so you do not drag it through the grooves during the wet stage.
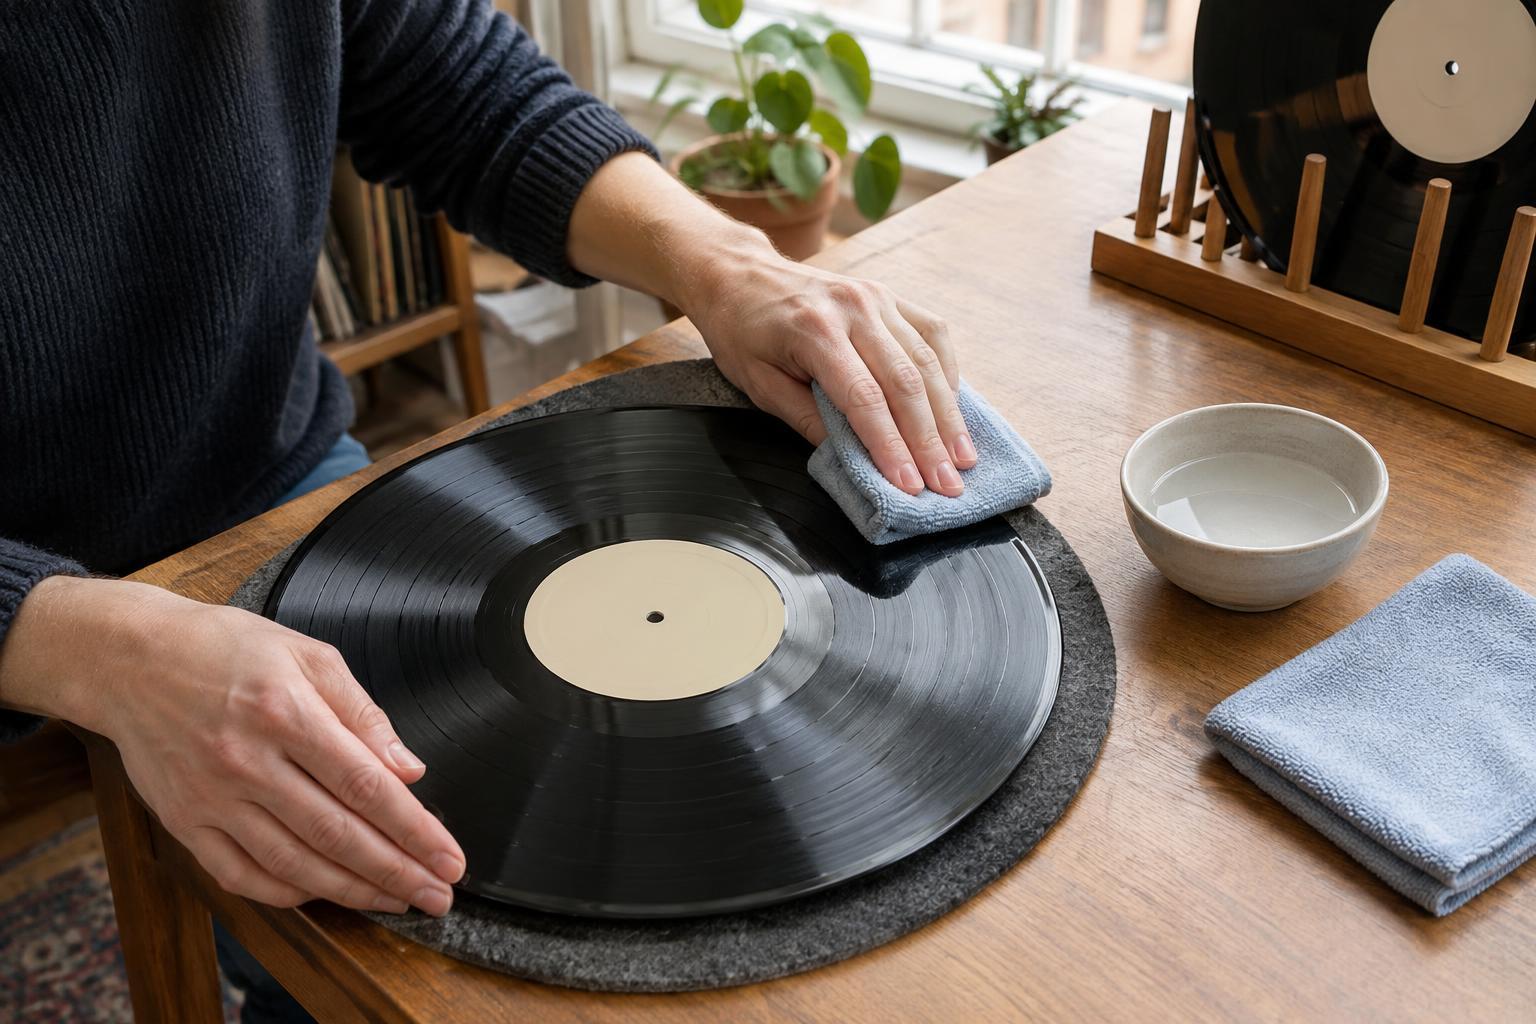
Apply a small amount of fluid to the cleaning pad or cloth rather than pouring it onto the disc. Work in gentle circles that follow the direction of the grooves, using light, even pressure. Do not scrub across the grooves or let liquid pool around the centre label. Give the fluid the contact time specified by its maker, then lift the dirty liquid with a clean, absorbent cloth. Turn the record over only after the first side is ready to rest against a clean surface.
Rinse and let the record dry fully
If the cleaner calls for a rinse, use a separate clean pad dampened with distilled or deionized water. A rinse can also help remove remaining cleaning fluid, but keep water away from the label and avoid soaking the record. Use a fresh cloth to lift moisture gently, again moving with the grooves. Reusing a cloth loaded with dirt or cleaner can put residue straight back onto the disc.
Let the record air-dry in a stable, dust-free position before playing or sleeving it. Check both sides, including the area near the label, for visible moisture. Do not speed drying with a heater, direct sunlight or hot air; heat can damage records. If you notice streaks after drying, the disc may need another careful rinse rather than a harder scrub.
Keep the clean record clean
Once the record is completely dry, place it in a clean inner sleeve. An old paper sleeve that sheds fibres or holds grit can undo your work, so replace it when needed. Store the record upright in its jacket and handle it by the edges each time you play it. A quick pass with a clean dry brush before listening can take care of dust picked up during handling.
If noise remains, do not assume the grooves need repeated washing. Check the stylus using the turntable maker’s care instructions, and consider whether the sound could come from wear, a scratch or the recording itself. Hand cleaning is a useful part of record care, but the best routine is a restrained one: clean when there is a reason, use clean tools and allow plenty of time for drying.